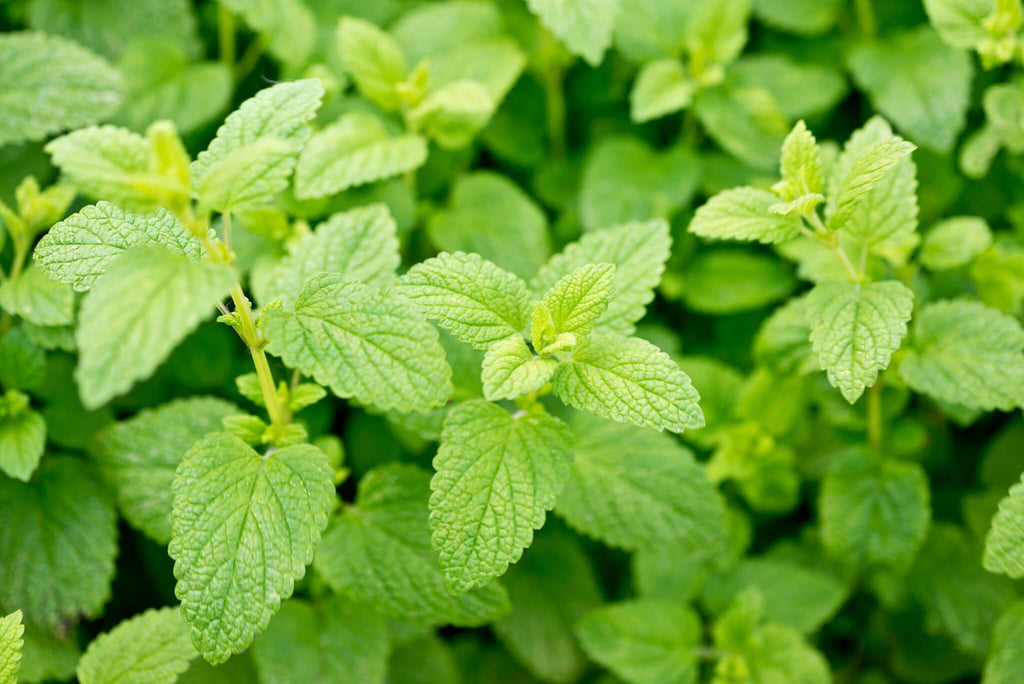
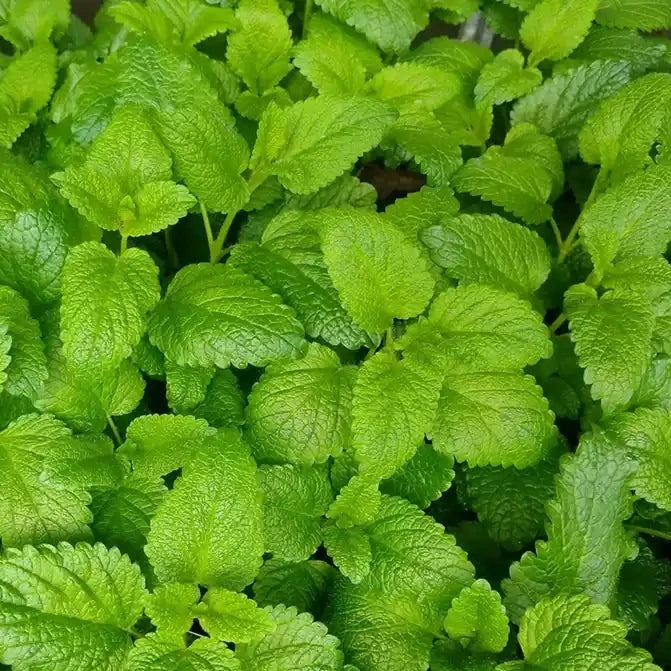
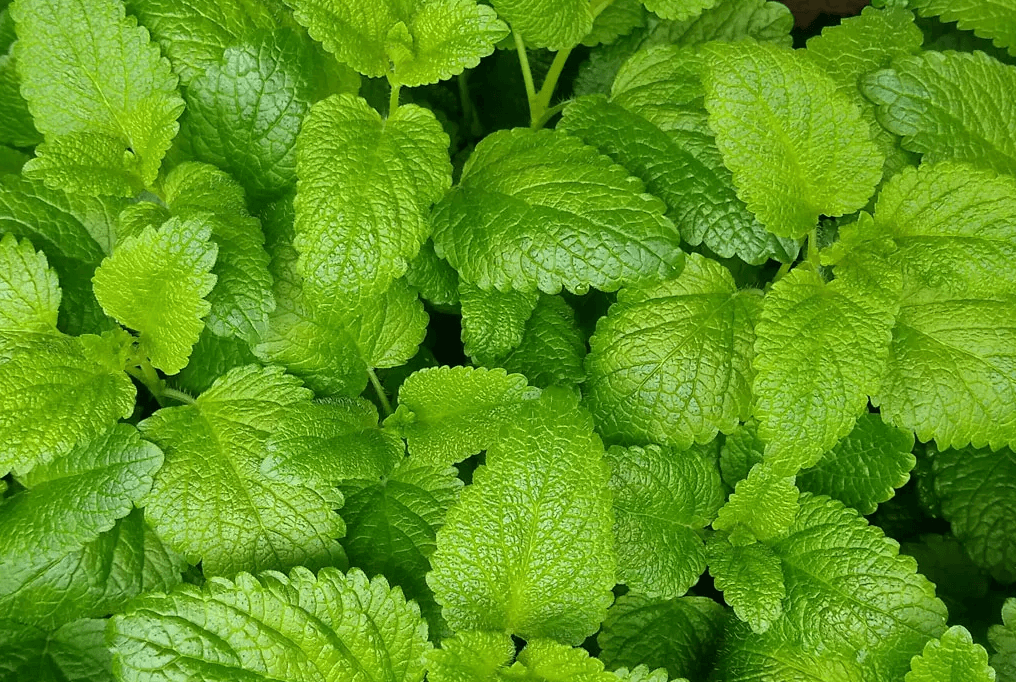
Left Continue shopping
Your Order

You have no items in your cart

You might also like
From $2999
Show options
From $399
Show options

Lemon Balm Growing Guide

What is Lemon Balm?

Lemon balm (Melissa officinalis), a member of the mint family, is considered a calming herb. It was used as far back as the Middle Ages to reduce stress and anxiety, promote sleep, improve appetite, and ease pain and discomfort from indigestion. It’s native to the Mediterranean and various regions in North Africa, Asia, and Europe.

How to Start Growing Lemon Balm

Plant in early spring after the last frost in slightly sandy, fertile soil with a pH of 6.5 - 7.0. Keep seed in constant moisture with temperatures of at least 65°F. Seeds must be covered thinly. Do not cover very small seeds, but tightly press into the earth. Lemon balm is prone to spreading, so to prevent this, simply harvest the tops prior to flowering so it doesn’t have an opportunity to go to seed. Using mulch will also help to prevent seed spread. Lemon balm reaches maturity at about 70 days. Lemon Balm can be grown in full sun or partial shade, but partial shade is ideal. While adaptable to almost any soil and sun conditions, some people find that it can lose color if exposed to too much sun, and that some shade can actually improve the flavor.

Did You Know?

The plant likely arrived in North America with the early colonists, who used it to make tea, potpourri, and as a lemon substitute in jams and jellies.

Our Favorite Lemon Balm to Grow

Lemon Balm Plant Spacing

In-Ground Planting

Row Spacing - 24 to 36 inches

Plant Spacing - 12 to 18 inches

Planting Depth - tightly press into soil

Raised Bed Planting

Row Spacing - 18 to 24 inches

Plant Spacing - 12 to 18 inches

Planting Depth - tightly press into soil

Lemon Balm Soil, Irrigation, & Fertilizer

Soil Requirements to Grow Lemon Balm

  • Loose, well-draining soil
  • pH between 6.5 and 7.0
  • Rich in organic materials
  • Good quality compost added to the soil

Lemon Balm Irrigation Requirements

Lemon Balm plants need at least 1 inch of water per week. Using drip irrigation is always recommended to be sure that your plants are getting moisture directly to their root system. If you’re using conventional overhead watering techniques, try and use something like the Dramm Watering Can and water and fertilize at the base of the plant to keep moisture off the leaves.

Raised Bed Fertilizer Schedule

Several Weeks Before Planting

Test your soil at your local extension office.

At Time of Planting

After adjusting soil pH to 6.5 – 7.0, mix 1 1/2 cups per 10 ft. of row or ¼ cup per plant of Hoss Complete Organic Fertilizer with your soil.

2 Weeks After Planting

1 cup Hoss Micro-Boost Micronutrient Supplement with 5 gallons of water. Each plant gets 1 quart of the solution next to the plant stem. Repeat every 4 weeks.

4 Weeks After Planting and Every 4 Weeks

¼ cup Hoss Complete Organic Fertilizer per plant evenly spread around plant.

In-Ground Fertilizer Schedule

Several Weeks Before Planting

Test your soil at your local extension office.

At Time of Planting

After adjusting soil pH to 6.5 – 7.0, mix 1 1/2 cups per 10 ft. of row or ¼ cup per plant of Hoss Complete Organic Fertilizer with your soil.

2 Weeks After Planting

1 cup Hoss Micro-Boost Micronutrient Supplement with 5 gallons of water. Each plant gets 1 quart of the solution next to the plant stem. Repeat every 4 weeks.

4 Weeks After Planting and Every 4 Weeks

¼ cup Hoss Complete Organic Fertilizer per plant evenly spread around plant.

Lemon Balm Pest & Disease Protection

Insects

Organic Controls

Horticulture Oil
Aphids, Flea Beetle, Whiteflies, Spider Mites, Thrips

Bug Buster-O
Aphids, Flea Beetles, Whiteflies, Moths, Armyworms

Monterey BT
Caterpillars, Cabbage Loppers

Take Down Garden Spray
Aphids, Flea Beetle, Whiteflies, Moths

Diatomaceous Earth
Cutworms, Ants, Slugs

Sluggo Plus
Slugs

Treat as needed using label instructions.

Common Diseases

Organic Controls

Complete Disease Control
Gray Mold, Leaf Spots, Anthracnose, Powdery Mildew

Treat as needed using label instructions.

Harvesting, Preserving, and Storing Lemon Balm

When & How To Harvest Lemon Balm

The best time to harvest lemon balm is right before the plant blossoms—this is when the oil that creates its signature flavor is at its most potent. If this is done early in the season, it can cause the plant to become more bushy, giving you more leaves to harvest later on.You can harvest small amounts of lemon balm for use throughout its growing season by snapping off a few leaves at a time. For a bigger harvest, use shears to snip leaves from the center stem, in between side shoots, to continue encouraging bushy, full growth. Use lemon balm right away or store fresh leaves in an airtight plastic bag or container in the refrigerator.

Drying Lemon Balm

Drying lemon balm keeps the leaves potent and fragrant throughout the year. To air-dry lemon balm plant, gather 5-6 stems together and tie them up around the stem with a piece of string. Hang your bunches of lemon balm in a cool dry and dark spot in your house. This can take anywhere from a few days to three weeks, depending on the level of humidity in your home. Be sure the leaves are completely dry and brittle before you take them down. To dry with a dehydrator, remove leaves from stems then lay the leaves in a single layer. Set the temperature at its lowest setting (95°F or 35°C) and dry for 12 to 18 hours. You can also use an oven by placing them on a baking sheet with the temperature on the lowest setting and the door slightly open. The herbs will dry in about an hour. When taking them out, they should appear shriveled and dark in color.

Storing & Keeping Lemon Balm

Store the dried lemon balm in an airtight container such as a mason jar. Keep away from light and heat to retain the maximum amount of flavor. Dried lemon balm properly dried using one of the above techniques should last many months without losing potency or flavor.

Come See Our Lemon Balm!

Lemon Balm Growing Tips & Tricks

Containers vs In Ground

Lemon balm works great directly on the ground or in containers. Keep in mind that this plant spreads easily and can quickly take over a garden area. Containers make a great option for keeping the plant controlled. Plus, you can easily grow four to six plants in a single, large container.

Great for Tea

Lemon balm tea is known to be a good drink for cold and flu season. You can use fresh or dried leaves to make tea. Gather roughly 15 - 20 leaves and steep them with water. Then, add whatever you like drinking with your tea, like honey or sugar.

Cabbage Growing Guide

Cabbage Growing Guide

Cabbage is a nutritious, leafy green that is great addition for your home garden! This vegetable is densely packed with fiber and rich with Vitamin C and Vitamin K. From coleslaw to Kimchi, cabbage is a versatile vegetable that can be prepared in many ways! 
Read more
Lettuce Growing Guide

Lettuce Growing Guide

The taste of a homegrown lettuce is unlike anything store-bought and is more densely packed with Vitamin A! This easy to grow cool season crop is a garden staple for beginners and experts alike.

Read more
Tobacco Growing Guide

Tobacco Growing Guide

Tobacco is a member of the Solanaceae or nightshade family. This family includes tomato, pepper, eggplant, Irish potato, and a number of other plants. Tobacco belongs to the genus Nicotiana, and almost all commercial tobacco is of the tabacum species. The Nicotiana rustica species was commonly used by...
Read more