
Save Time And Money: Reuse Your Drip Tape
If you plan on having a year-round garden like we do here at HOSS, drip irrigation is the obvious solution in your vegetable garden. But what happens to your drip tape after you've harvested your crops? Spending the money and time replacing your drip tape is not only costly but wastes hours that could be spent in the garden being productive. So we're going to show you the easiest way to save time and money and simply reuse your drip tape! If you aren't already utilizing drip tape irrigation, here are the main reasons to implement it in your garden.
The Benefits Of Drip Irrigation In Your Vegetable Garden
- Decreases pest and disease pressure naturally by keeping moisture off of the leaves
- Effectively provides the maximum amount of nutrients to the plant for a healthier overall crop
- Conserves water by delivering water and fertilizer directly to the root system, unlike overhead watering
- Cost effective because the drip system can be used in the same plot year after year without needing to replace it
- Aids in weed suppression. With overhead watering, areas of your garden are unnecessarily watered, which results in watering weed seed and germinated weeds that you don’t want to grow
Step By Step Instructions For Reusing Drip Tape
- Leave the drip tape attached to the mainline tubing and move the drip tape out of the way. You can use a tool like the Hoss Double Wheel Hoe with one of our weeding attachments to cultivate and remove any weeds from the area before replanting the next crop.
- Create a furrow using the plow set attachment in the furrowing position to create a row for the drip tape. Lay the drip tape back in the garden with the emitters facing upward.
- Amend the furrow by laying good compost like Hoss Complete Organic down the row evenly and bury the tape using the Double Wheel hoe and switching the plow set to the hilling position. Once the drip tape is buried, we suggest turning the water on and letting the emitters seep out to indicate where to plant your seeds or transplants.
- Plant your seeds or transplants based on the recommended plant spacing and planting depth on the seed packet or the HOSS product page. Cover the seeds with dirt using a hoe or rake.
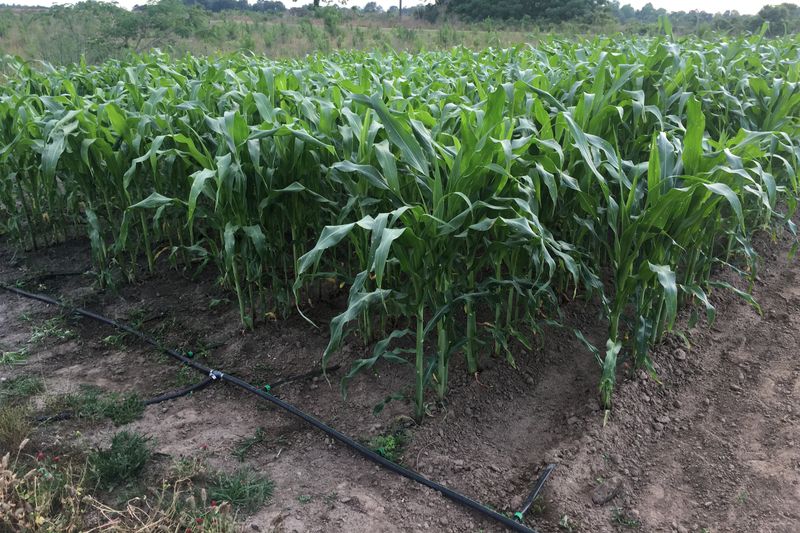
One exception is removing the drip tape off of some of the larger rooted crops like corn for example. After harvesting corn, you should cut the stalks down with a while they are still green. If the stalks are still green they dry up quicker and a few weeks later you can pull the drip tape up from the ground without damaging it. Then follow the instructions from the beginning. HOSS demonstrates the process in the video below.


Moving Your Drip Tape
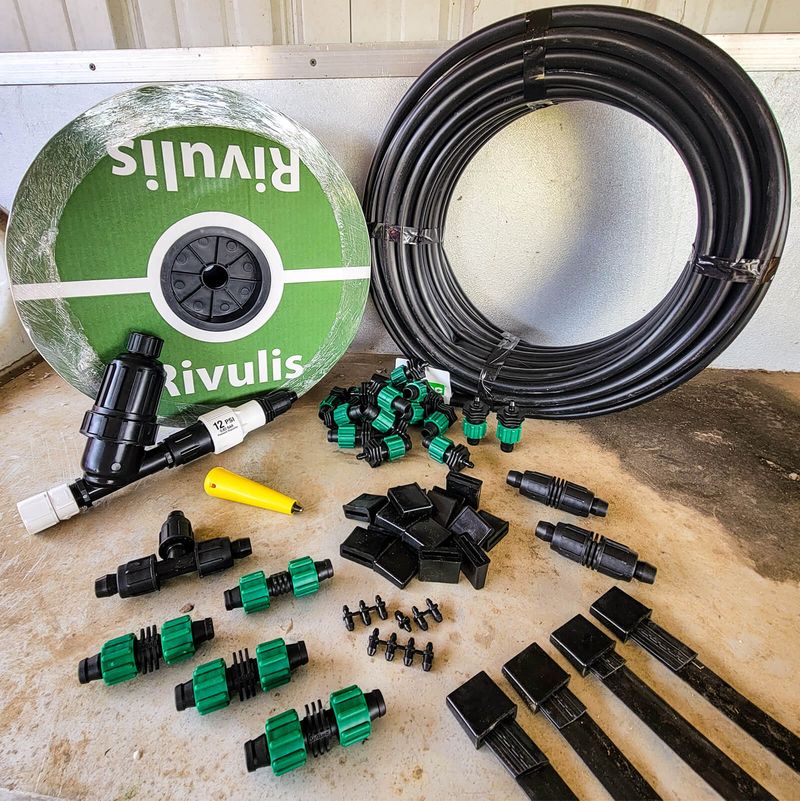
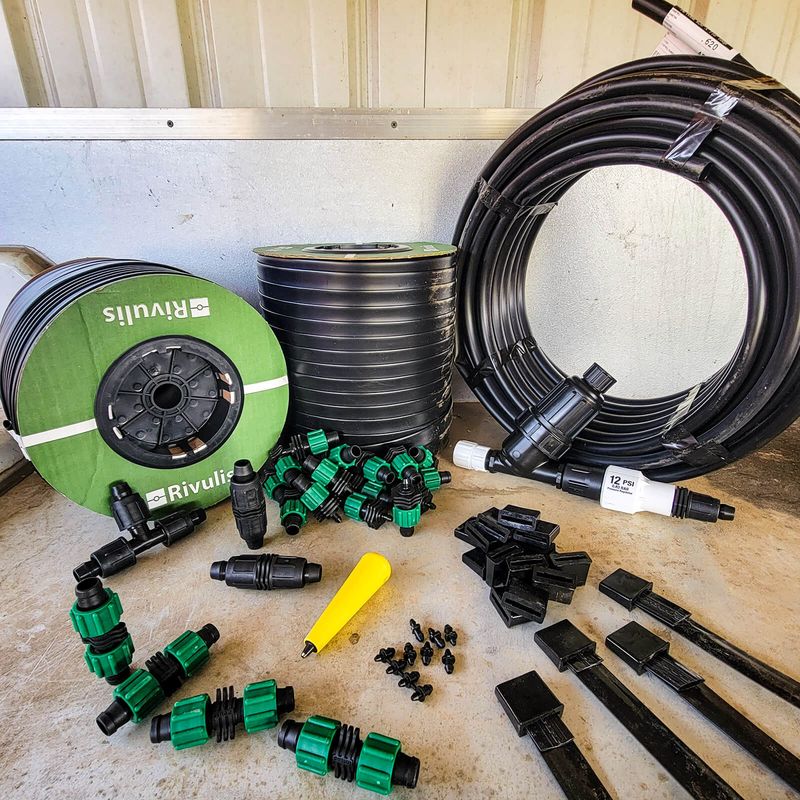
Because different plants have different spacing requirements, you may find that you need to move your rows. This is actually a very easy process if you have the right tools. If you purchased our 8 Mil Irrigation Kit, or 15 Mil Irrigation Kit, you'll find in your package the it comes with Goof Plugs as well as a Hole Punch. These are also available to purchase individually on the website if you need a spare.
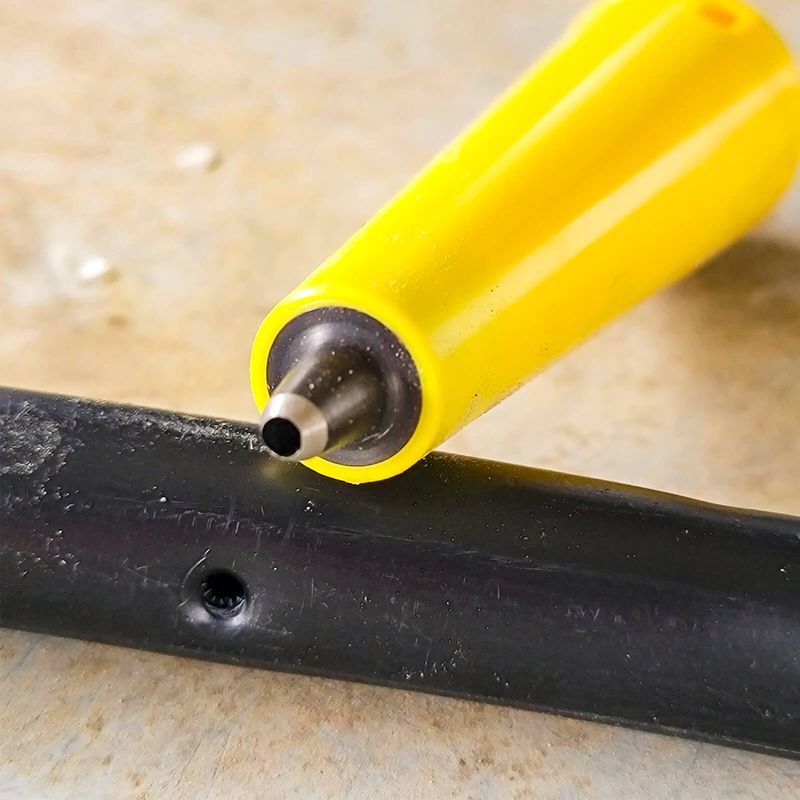
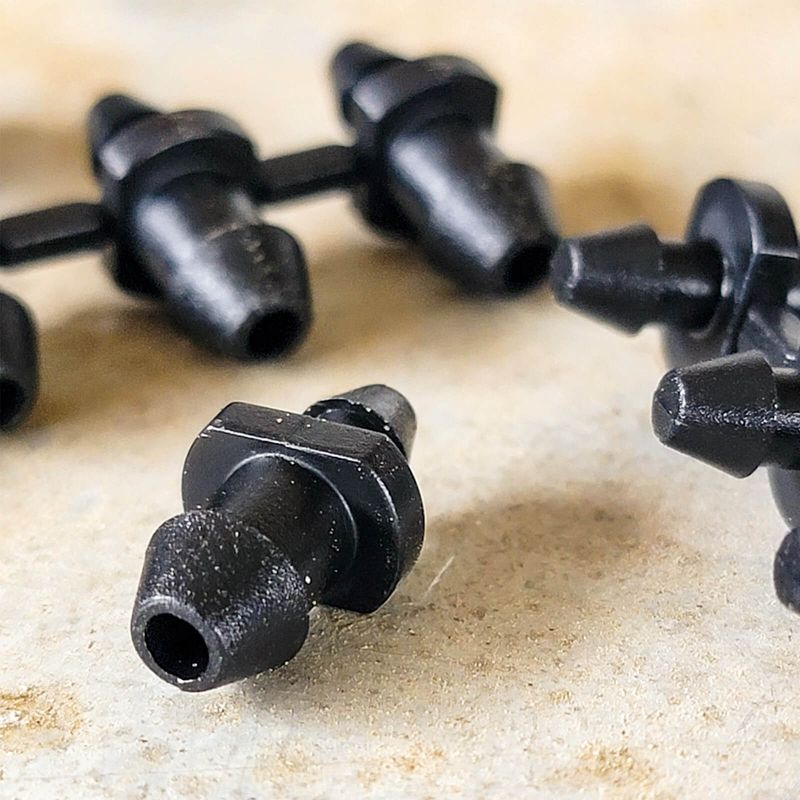
To move the row, simply disconnect the drip tape from mainline tubing, plug the hole with the Goof Plug, punch a new hole using the Hole Punch, and reconnect the drip tape with the new configuration. Simple as that!