Left Continue shopping
Your Order

You have no items in your cart

You might also like
From $2999
Show options
From $399
Show options

Onion Growing Guide

How To Grow Large, Sweet Onions

The most common mistakes we have encountered when it comes to a great crop of onions really comes down to planning. You have to be sure of three things when planting onions:

1. Choose the right variety of onions for your area. Refer to our map to make sure that your onion choice is the right one for your zone.

2. Make sure you’re planting at the right time. Onions rely heavily on how much sunlight they receive. So taking your planting dates into account is hugely important.

3. Fertilize your onion plants properly. Onions go through 3 distinct phases and proper fertilization amount, timing, and type will help your plants along their life cycle.

Long, Intermediate, or Short Day Onions?

Long day onions should be planted in the spring for a mid-summer harvest, they'll start bulbing when the day length reach 14-16 hours. Intermediate day onions should be planted in late winter for an early summer harvest, start bulbing when day length reaches 12-14 hours. Short Day onion varieties can be planted in the fall if temps are rarely below 20 degrees Fahrenheit or plant in later winter if temperatures are frequently below 20 degrees Fahrenheit; start bulbing when day length reaches 10-12 hours.

Do I Grow Onions From Seeds, Sets, or Plants?

How to grow onions is a question that a lot of vegetable gardeners have undoubtedly asked themselves. The next inevitable questions is how to start growing your onions. There are 3 main ways most gardeners start their onions; from seeds, set, or plants. We have done the research and to have the most control over the type of onion you are going to end up with, seeds and plants are the way to go. Onion sets are dried onion bulbs that are usually sold by color only, giving you very little information about the actual type on onion you’re going to end up growing. For this guide, we are going to focus on growing from onion seeds or onion plants.

Our Favorite Onion To Grow

Transplanting Your Onion Seedlings

When your onion seeds or plants are ready to go in the ground, a little planning goes a long way. All varieties of onion rely on sunlight for production. Be sure and choose a spot in your garden that gets a full day’s worth of sun and won’t be shaded by other plants or structures. Onions do well when planted near beets, carrots, lettuce, spinach, and tomatoes and, in general, make good companions in your garden. Don’t plant onions in a place they have previously been grown. Crop rotation is vital to help disease prevention.

In-Ground Planting

Row Spacing – 2 to 3 feet
*Plant Spacing – 6 to 12 inches
Planting Depth – Approx. 1″ deep

Raised Bed Planting

Row Spacing – 2 feet
*Plant Spacing – 6 inches
Planting Depth – Approx. 1″ deep
        *See extra credit for more information on plant spacing options.

Onion Soil, Irrigation, & Fertilizer

Onion Soil Requirements

  • Loose, well draining soil. Heavy soil will put pressure on the bulb as it's developing and could inhibit growth.
  • pH between 6.0 and 6.5.
  • Rich in organic materials
  • Good quality compost added to the soil

HOSS always recommends getting a soil sample to your local extension office several weeks before planting. Once you get your results, you will  need plenty of time to adjust your soil accordingly and make sure your onion plants are getting the best nutrients possible as soon as they hit the ground.

Click Here to find your local extension office.

Onion Irrigation Schedule

The 3 phases of an onion are the vegetative stage, the bulbing stage and the bolting stage. While in the vegetative stage, the plant focuses all of its energy on above-ground leaf production. The larger the leaves, the larger your onion bulb will be. A major component of having a good crop of large onions is the amount of water they receive in this stage before the weather changes and bulb production begins. 

Raised Bed & Container Onion Fertilizer Schedule

Several Weeks Before Planting

Test your soil at your local extension office.

1 Week Before Planting

After adjusting soil pH to 6.0 – 6.5, mix 1 1/2 cups per 10 ft. of row of Hoss Complete Organic Fertilizer with your soil.

2 Weeks After Planting

Sidedress 2 cups of Hoss Complete Organic Fertilizer per 10 ft. of row.

Every Week For 3 Consecutive Weeks

Mix 1 tablet each of Dr. Joe Nutri Bubble-AND- Dr. Joe Growing Bubble into 1 gallon of water. Apply as a drench to 10 ft. of row.

Alternate Every 4th Week

-ONLY- Sidedress 1/2 cup of Hoss Calcium Nitrate to 10 ft. of row. Restart an repeat schedule at previous step.

30 Days Before Harvest

Discontinue fertilizing

In-Ground Onion Fertilizer Schedule

Several Weeks Before Planting

Test your soil at your local extension office.

1 Week Before Planting

After adjusting soil pH to 6.0 – 6.5, mix 1 1/2 cups per 10 ft. of row of Hoss Complete Organic Fertilizer with your soil.

2 Weeks After Planting

Using the Hoss Fertilizer Injector, Mix 1 cup Hoss Premium 20-20-20 Fertilizer per 20 ft. of row.

4 Weeks After Planting

Mix 1 cup of Hoss Premium 20-20-20 Fertilizer-AND -1-2 cups of Hoss Micro-Boost Micronutrient Supplement per 20 ft. of row.

Alternate Every 7 Days

Mix 1 cup of Hoss Calcium Nitrate -AND- 1 cup of Hoss Micro-Boost Micronutrient Supplement per 20 ft. of row.

30 Days Before Harvest

Discontinue Fertilizing

Onion Pest & Disease Protection

Insects

Bug Buster-O

Garden Insect Spray

Treat every 7-10 days in rotation as needed.

Common Diseases

Botrytis Leaf

BlightPurple Blotch

Downy Mildew

Liquid Copper Fungide

Vegetable, Flower, Fruit and Ornamental Fungicide

Treat with Liqui Cop or Hi-Yield Ornamental Fungicide 

Treat every 7-10 days

Uncommon Diseases

Pink Root

Fusarium Basal Rot

The most effective preventative treatment for these issues is a good crop rotation plan. We suggest rotating your onion crop every 3-6 years.

Harvesting, Curing & Storing Your Onions

When Should You Harvest Onions?

It’s time to pull up your onion plants when at least half of the tops have turned mostly yellow and are laying down. As far as size is concerned, you can pull them out of the ground when they get as large as you’d like. 

Once your onions are ready to harvest, be sure to check the weather for the next few days as the onion crop will need to be pulled and cured on the ground in the sunlight for at least 2 – 4 days. Incoming rain or frost will keep the onions wet and make them more prone to rot and not store well. After 2 – 4 days, gently shake off the dirt from the roots being careful not to bruise the bulbs and get them prepared for curing. Ideally, you’ll want to harvest your onion crop in the morning on a sunny day and the temperature is between 75°F – 80°F.

While harvesting, be sure to pull out the onion by the bulb and not by the stems. Breaking the stems could leave the onion plant vulnerable to rot during the curing process. Also, if any of your onion plants have bolted (grown flower stalks) try to leave them in tact. Trimming them could also introduce bacteria causing them to rot.

The Best Method To Curing Your Onions

Once your onions plants have cured in the field for at least a day, choosing the right place to cure your onions for storage is extremely important. There are several factors that go into an appropriate curing location.

1. Well ventilated
Choose an area that has good airflow. Onions like a slight breeze whenever possible. Lay all of your onions out in a single layer and not stacked on top of each other.

2. Shaded
Onions need to be kept out of direct sunlight so that they go completely dormant and lessen the risk of sunburn. A garage, covered deck, barn or similar area is the perfect location. If you are limited on shaded areas, you can cover your onions with a breathable material like cotton and turn them every few days. Never use a tarp, plastic or anything too heavy because air flow is absolutely essential for onions to cure.

3. Not too hot, not too cold
Onions cure best at 75°F – 80°F. In colder climates, you can use a space heater and wall thermometer to regulate the temperature manually if needed.

While the onions are curing, the skin will constrict and become dry around the bulbs. The necks of the plant will also turn brown and brittle and have no moisture present. A good rule of thumb is if you’re not sure if the onions are ready, give them a little more time to cure before storing them.

How To Know It's Time To Move Onions To Storage

Depending on your area, the amount of humidity will effect the time it takes for your onions to completely cure. On average, it takes anywhere between 3-6 weeks for onions to be completely dry and ready to store. The most important thing to know about moving onions to storage is that they have to be totally, completely, 100% dry. Moving onions to storage that are not totally dormant and still have moisture in them can spell disaster and breed harmful bacteria that causes the onions to rot. 

When you see the leaves and roots are completely brittle and contain no moisture and you can easily blow away the dirt from the bulbs, they are likely ready to store. There are several methods to storing onions so choose the one that best fits your space and needs. Dormant onions should be stored in a cool, dry, dark place. Sunlight and warmth can cause the onions to come out of dormancy and begin to sprout, or worse, rot.

Some popular storage methods we have found are mesh onions bags, brown paper bags with holes, burlap sacks, mesh window screens, and even women’s hosiery. Root cellars, basements, and pantries are also popular locations for storing onions. The best temperature to store your onions is, ideally, between 35°F – 45°F with relatively low humidity. 

Get Onion Seeds For Every Zone!

Onion Tips & Tricks

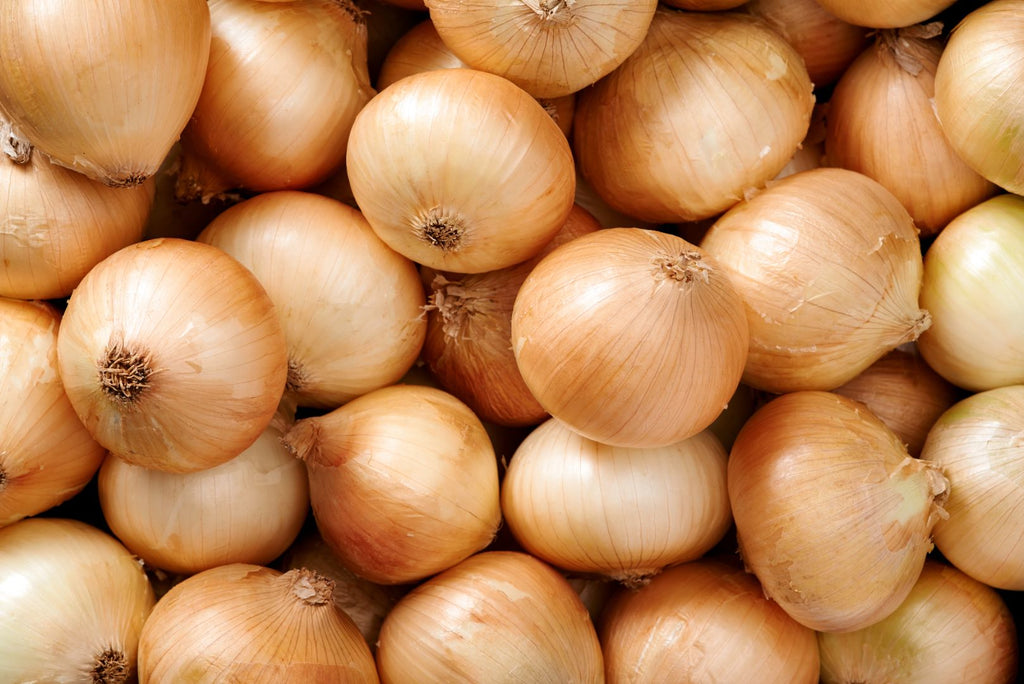
How Long Will Onions Last In Storage?

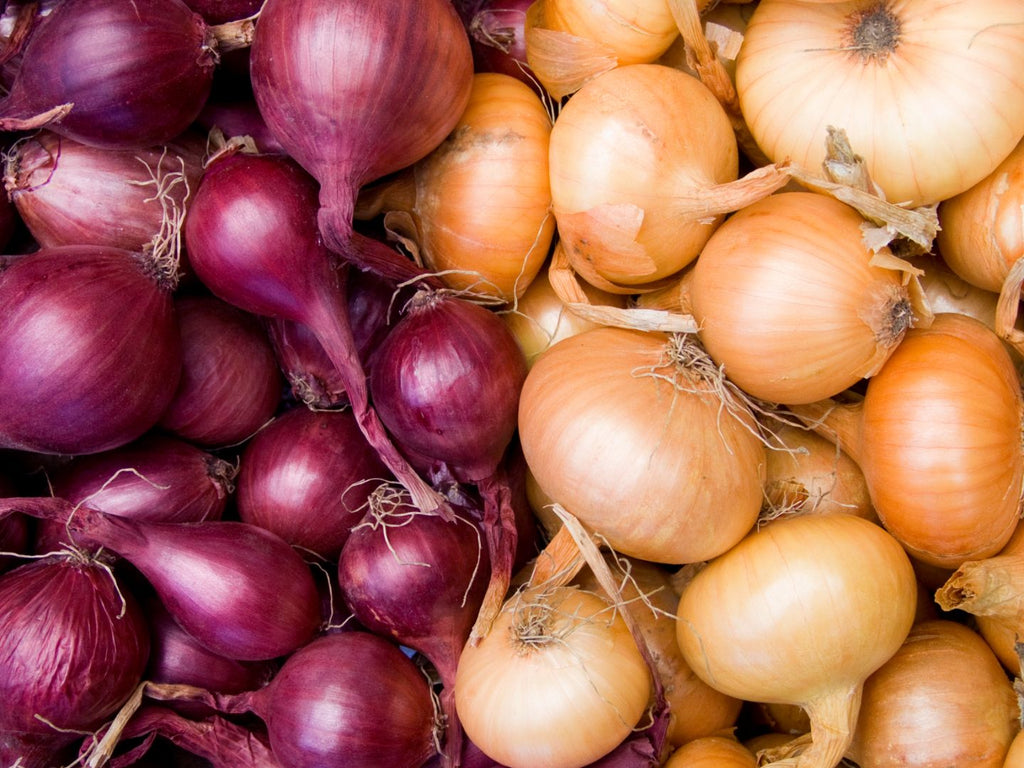
When cured and stored properly, long and intermediate day onions can last up to a year in storage. The sulfer content in long day onions helps preserve them longer. With that being said, short day onions that tend to be sweeter will only last in storage between 4-6 months. 

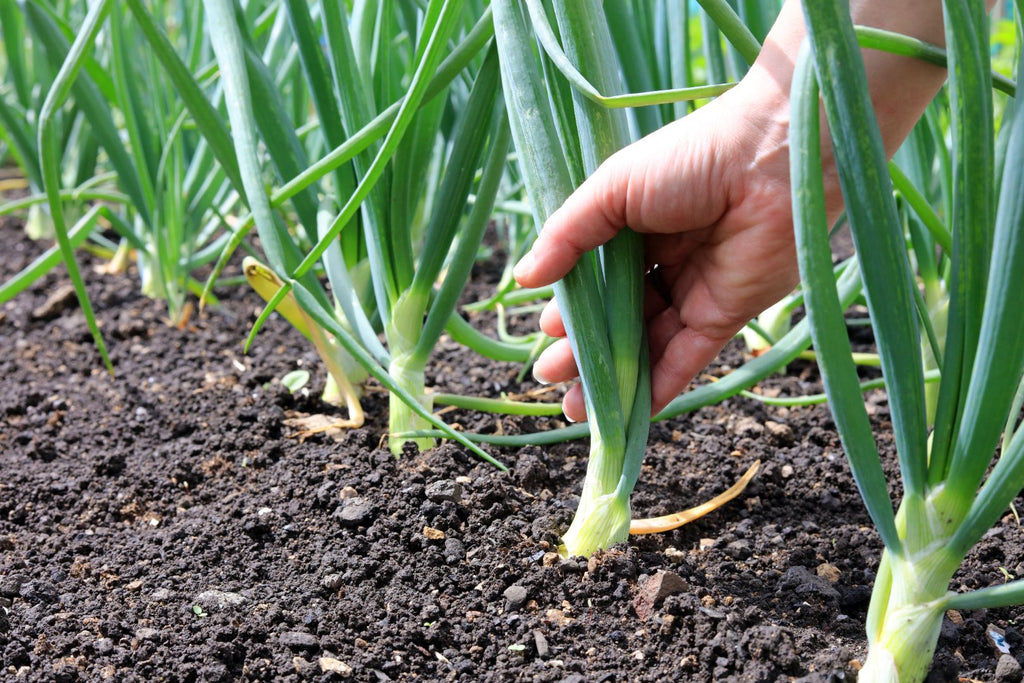
Onions Keep Away Grazing Pests

When planning your garden, think about planting your onions on the perimeter of your garden. They have been known to deter larger pests like rabbits and deer. They also make great companions to other plants like lettuce, tomatoes, beets, and strawberries.

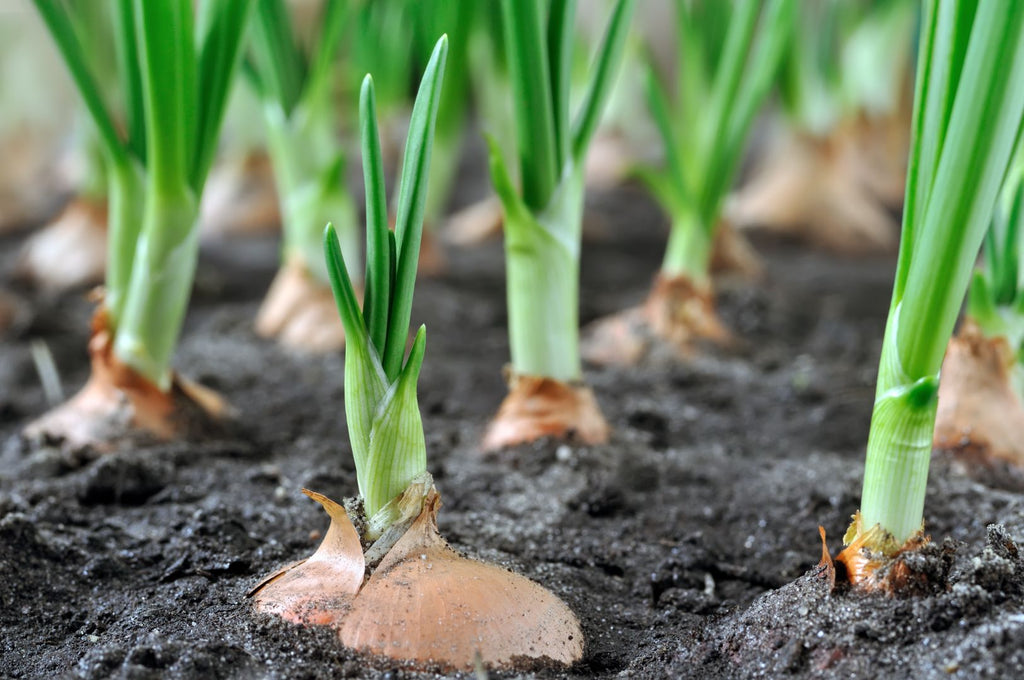
Double Your Onion Crop

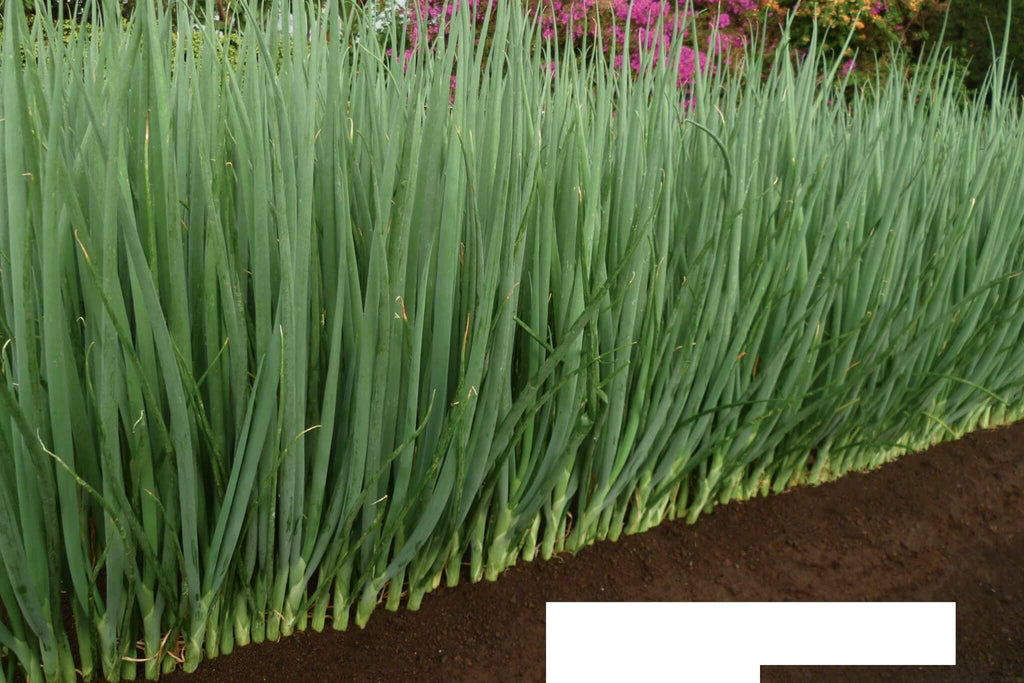
When transplanting your bulbing onions, you may want to consider planting every 3 inches instead of the full 6 inch plant spacing. Before the bulbing phase, you can harvest every other plant for a nice crop of green onions and still leave space for your bulbing onions to grow full size.

Don't Store Your Onions Near Your Potatoes

Potatoes are stored in similar conditions to onions, however, storing the two together can spell disaster. The ethylene gas that onions naturally emit causes potatoes to age and rot. The rotting potatoes will then give off their own gasses and cause the onions to start to rot as well. So a good rule of thumb is to keep these two separate.

HOW TO GROW ONIONS IN THE FALL

Cabbage Growing Guide

Cabbage Growing Guide

Cabbage is a nutritious, leafy green that is great addition for your home garden! This vegetable is densely packed with fiber and rich with Vitamin C and Vitamin K. From coleslaw to Kimchi, cabbage is a versatile vegetable that can be prepared in many ways! 
Read more
Lettuce Growing Guide

Lettuce Growing Guide

The taste of a homegrown lettuce is unlike anything store-bought and is more densely packed with Vitamin A! This easy to grow cool season crop is a garden staple for beginners and experts alike.

Read more
Tobacco Growing Guide

Tobacco Growing Guide

Tobacco is a member of the Solanaceae or nightshade family. This family includes tomato, pepper, eggplant, Irish potato, and a number of other plants. Tobacco belongs to the genus Nicotiana, and almost all commercial tobacco is of the tabacum species. The Nicotiana rustica species was commonly used by...
Read more