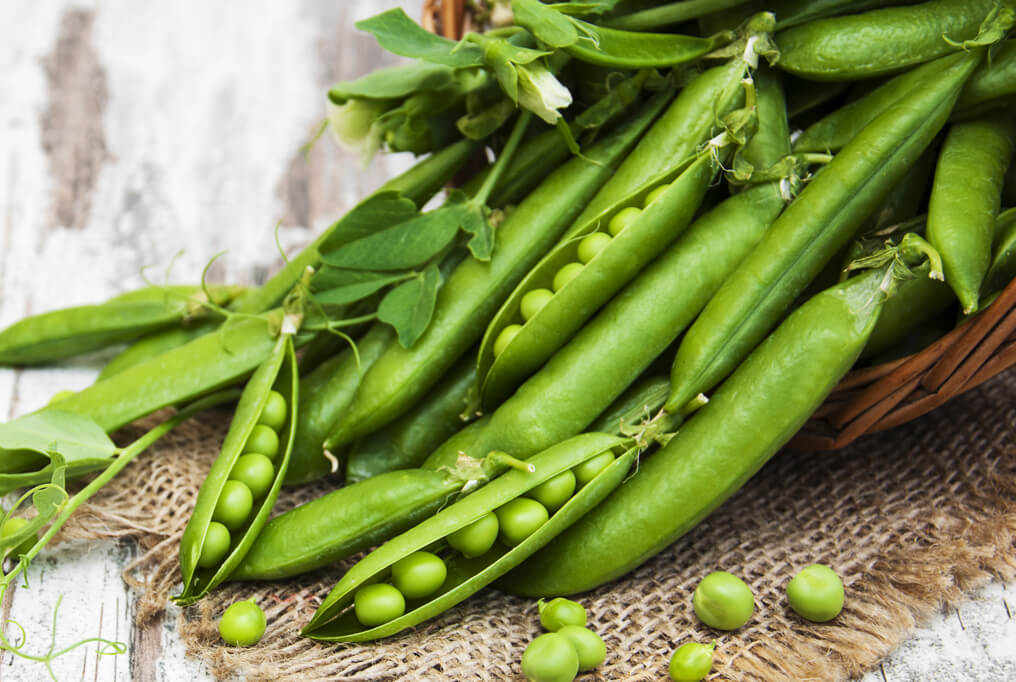


Pea Plant Pest & Disease Protection
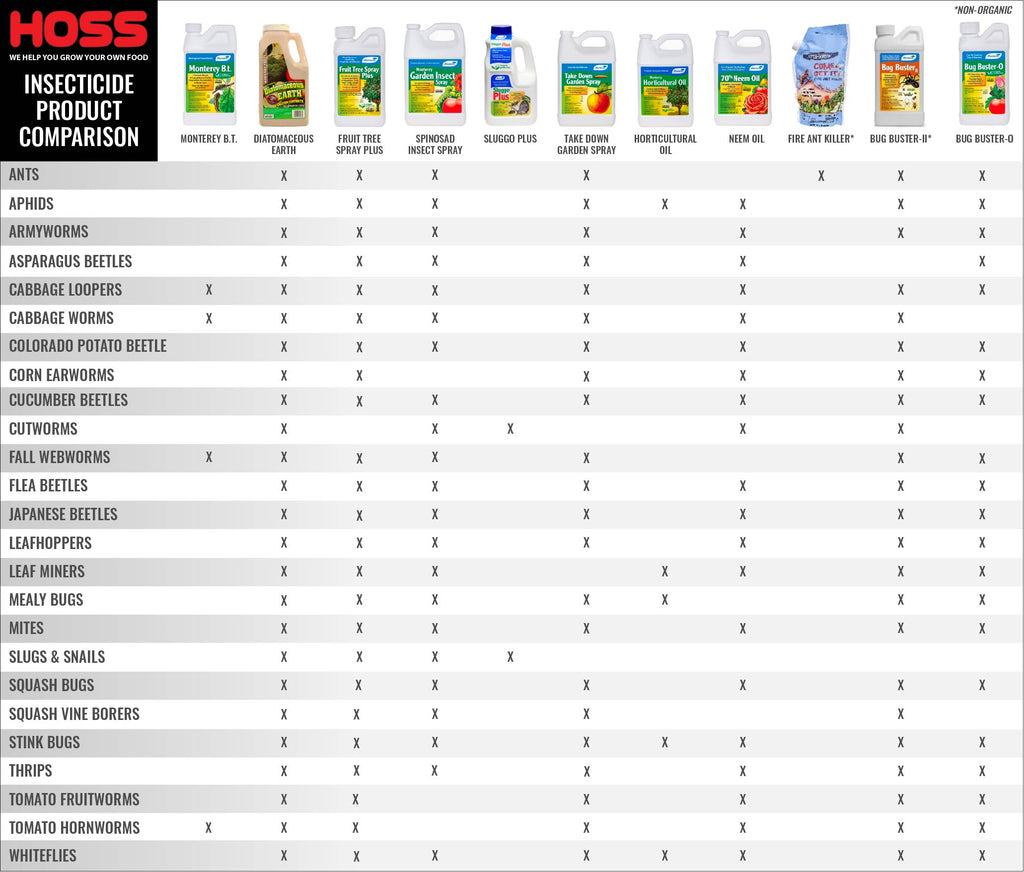
Insects
Organic Controls
Spinosad Garden Insect Spray
Thrips, Army Worms, Leaf Miners
Neem Oil
Aphids
Horticultural Oil
Aphids, Stinkbugs, Flea Beetle, Whiteflies, Spider Mites
Bug Buster-O
Aphids, Flea Beetle, Whiteflies
Monterey BT
Armyworms
Take Down Garden Spray
Aphids, Army Worms, Flea Beetle, Whiteflies
Diatomaceous Earth
Cutworms
Non-Organic Controls
Bug Buster II
Aphids, Horn Worms, Stinkbugs, Flea Beetle, Whiteflies, Spider Mites, Thrips, Leaf Miner
Treat as needed using label instructions.
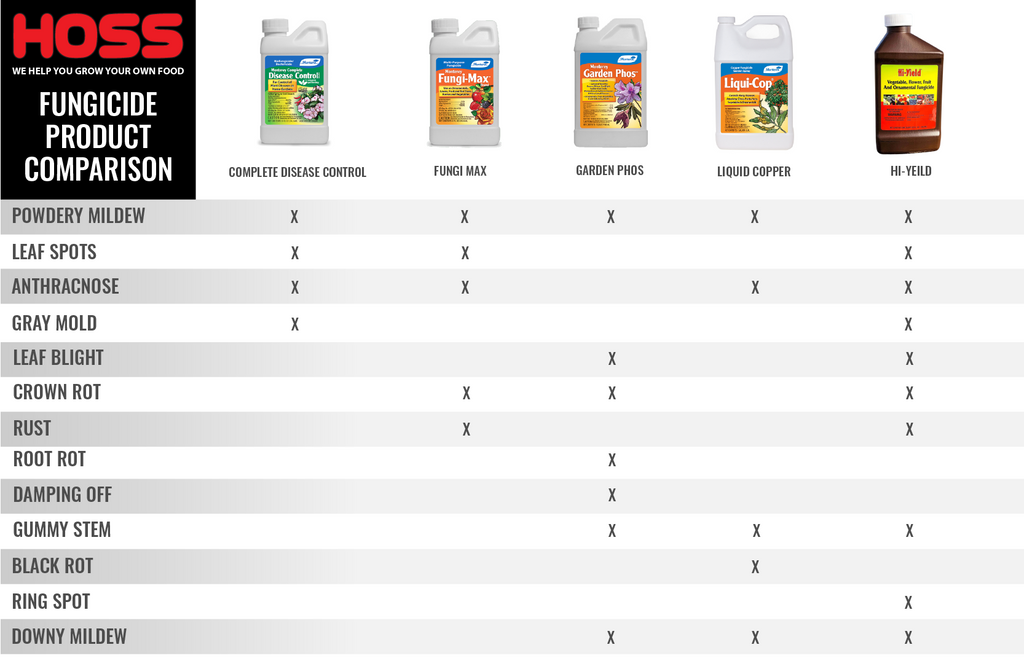
Common Diseases
Organic Controls
Crop Rotation and Select Resistant Varieties
Fusarium Root Rot, Bacterial Blight, Mosaic
Non-Organic Controls
Liquid Copper Fungicide
Bacterial Blight
Garden Phos
Pythium, Downy Mildew, Powdery Mildew
Fungi Max
Powdery Mildew
Vegetable, Flower, Fruit and Ornamental Fungicide
Botrytis Blight, Gray Mold
Treat as needed using label instructions.